

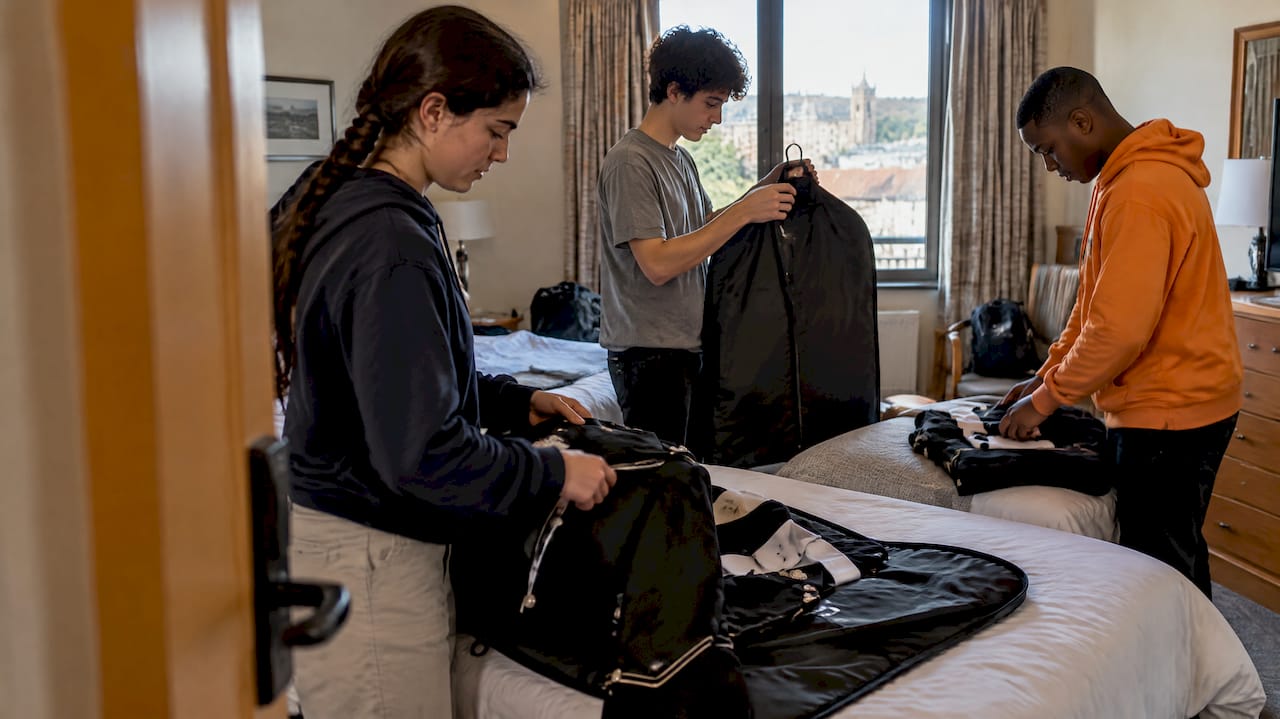
Pack every uniform on a hanger inside a garment bag, keep shoes and accessories in separate labeled compartments, number and inventory each complete set before departure, and follow the manufacturer’s wash-and-dry instructions once you’re home. These five rules, used together, prevent most of the damage and mix-ups that happen on performance trips.
TL;DR:
- Follow manufacturer instructions, fasten every hook and loop closure, and wash bibbers and tops in cold water on a gentle cycle with liquid detergent.
- Assign different volunteers to check packing, manage transport, and inspect uniforms after performances, rather than making one person track every set.
- Load bags in reverse dressing order, keep them spaced on the rack, and stage uniforms away from food, mud, and busy walkways.
- After each wear, inspect every set and record damage before washing; wash capes separately, separate jackets from bibbers, and hang all pieces to dry.
- Keep a repair kit with a needle and thread, safety pins, spare hook and loop strips, fabric tape, and a seam ripper with one coordinator.
Table of Contents
- Essential uniform-care rules before you pack
- How to pack a uniform and accessories for travel
- Labeling, inventory and accountability rules for group travel
- Transport-day and on-site handling rules
- Post-trip care and laundering rules
- Group Travel Network best-practice rules for uniform logistics on performance tours
- Why standard rules matter for band directors and coordinators
- How we help manage uniform logistics on performance tours
- FAQ
- Sources
Essential uniform-care rules before you pack
Packing damage usually starts long before the bus loads. It starts with skipped care steps.
Always check the garment tag and any supplier instructions before you wash, press, or pack a uniform. Manufacturers design bibbers, jackets, and trim differently, and their care and storage guidance (opens in a new tab) should override generic laundry habits. Fasten every Velcro closure before the uniform goes near a washer, dryer, or garment bag. Loose hook-and-loop fasteners snag fabric, pull threads, and cause the “picking” that ages a uniform faster than normal wear.
For routine laundering, cold water, a gentle cycle, and liquid detergent protect spandex and bibber fabric far better than hot water or powder detergent, and hanging items to dry avoids the heat damage a dryer causes to stretch fabric.
- Check tags and manufacturer instructions before washing or packing.
- Fasten all Velcro before laundering or storage.
- Use cold water, gentle cycle, and liquid detergent for bibbers and tops.
- Hand-wash and lay flat sequined or metallic trim pieces instead of machine washing them.
Pro Tip: Keep a small card of wash instructions taped inside your uniform storage closet so every parent volunteer washes the same way.
How to pack a uniform and accessories for travel
A repeatable packing order keeps every set consistent, whether a parent volunteer or a section leader is doing the packing.
- Hang the jacket and pants together on one sturdy hanger, zippers facing the same direction, so the press stays sharp and the set doesn’t shift inside the bag.
- Zip the garment bag closed with the hanger hook exposed at the top for easy rack hanging later.
- Clean shoes before packing and place them in the bag’s dedicated shoe or mesh pocket, never loose against the fabric, since uniform care guides specifically call out mesh pockets for this purpose.
- Store gloves, socks, and small items in the bottom compartment of the same bag so the full set travels together.
- Protect hats and shakos in structured cases, and use breathable tubes or padded boxes for plumes so feathers keep their shape.
- Bag gauntlets, gloves, and baldrics separately, label each bag, and tuck them into the garment bag’s designated pocket.
A quality travel garment bag, similar to the structured designs sold by NOMATIC, makes this order easier because it already separates hanging space from accessory pockets.
For loading, hang bags close together but not overlapping on the bus or trailer rack, with zippers facing the same wall to reduce friction and shifting in transit.
- Hang jacket and pants on one hanger with zippers aligned.
- Keep shoes in a mesh or dedicated shoe pocket.
- Store gauntlets, gloves, and baldrics in labeled bags inside the garment bag’s pocket.
Labeling, inventory and accountability rules for group travel
Mix-ups happen fast when fifty uniforms travel together, so a consistent numbering and tracking system matters more than any single packing trick.
Write each student’s last name and item number directly on tape labels for the jacket, pants, cape, and gauntlets, a method uniform laundry instructions (opens in a new tab) recommend for speeding reassembly after a trip. Keep a master manifest, a simple spreadsheet works fine, listing each student’s name, assigned uniform numbers, and return status after every wear.
- Label every piece with a name and item number using tape, not permanent marker.
- Keep a master manifest that tracks uniform numbers and return status.
- Assign a pre-trip pack checker, a transport manager, and a post-performance inspector.
- Report missing or damaged items to the laundering coordinator the same day they’re found.
Splitting these duties among parent volunteers or section leaders means no single person has to track fifty sets alone, and problems surface before the next event instead of at the end of the season.
Transport-day and on-site handling rules
Transport day is where good packing either pays off or falls apart.
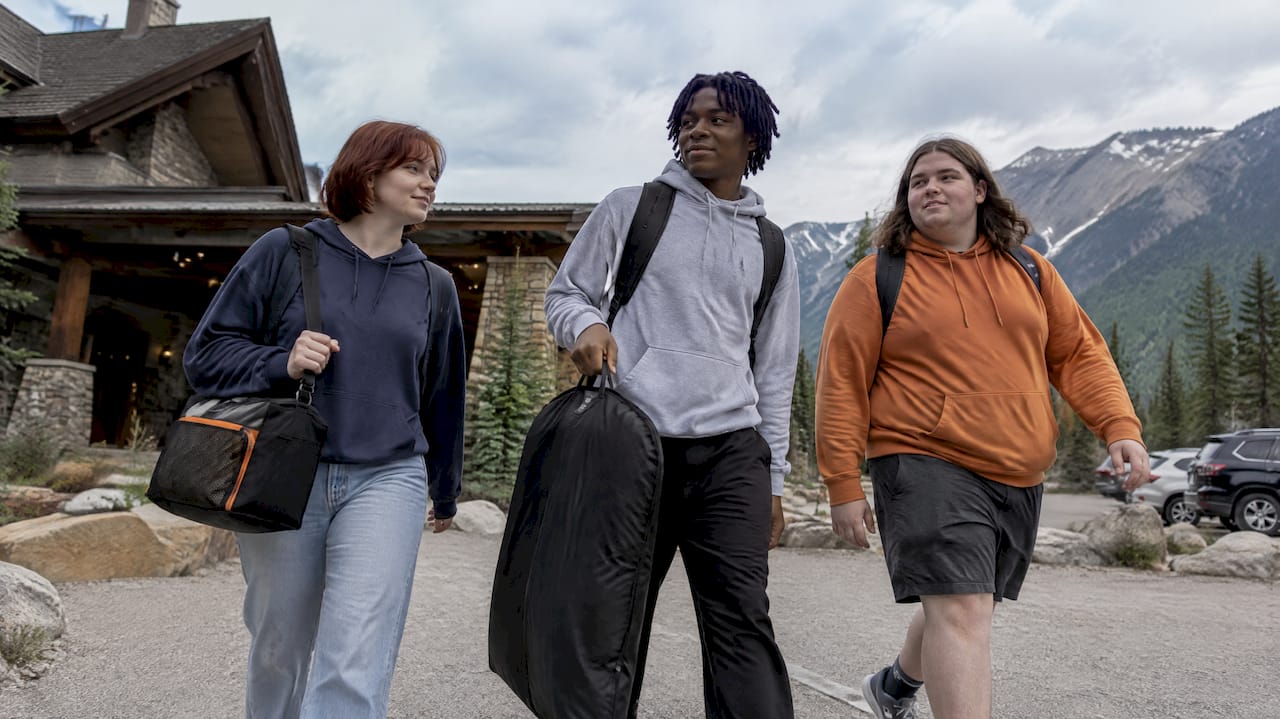
- Load garment bags onto the bus rack or trailer in reverse order of use, so the first group to dress is the last group loaded and the first unloaded.
- Hang bags with enough space between them to prevent crease lines, and keep shoe pockets facing outward for a quick visual check.
- At the venue, set up a single staging area with a rack or rolling rod, away from food, mud, or high-traffic paths, and assign one adult to monitor access.
- Carry a labeled emergency repair kit, needle, thread, safety pins, spare Velcro strips, fabric tape, and a seam ripper, with the uniform point-of-contact at all times.
- Build warm-up and dressing times backward from performance time so uniforms go on last and come off first, minimizing wrinkle time in transit bags.
Pro Tip: Pack the repair kit in a clear pouch so whoever grabs it during a pre-show scramble can see the contents instantly.
A well-stocked kit borrows a lesson from percussion sections, who already travel with dedicated accessory bags for sticks and small gear, the same organized approach (opens in a new tab) works for uniform repair supplies.
Post-trip care and laundering rules
The work isn’t done when the bus gets back. What happens in the next few days determines whether uniforms are ready for the next performance.
Inspect every set immediately: check for stains, missing trim, snapped snaps, and worn gauntlet edges, and note anything on the manifest before the uniform goes into the laundry queue.
- Separate loads by construction, bibbers and tops in one load, jackets in another, to protect interfacings and creases.
- Wash capes separately to avoid color transfer onto other garments, as laundry instructions advise.
- Use cold water, gentle cycle, and liquid detergent, then hang everything to dry.
- Reassemble each set by number, re-hang on the original hanger, and store in the garment bag for the next trip or end-of-season storage.
Set a clear turnaround policy, for example, uniforms cleaned and returned to storage within a set number of days, so the laundering coordinator and volunteers know the expectation without guessing.
Group Travel Network best-practice rules for uniform logistics on performance tours
Folding uniform tasks into your overall trip timeline keeps them from becoming a last-minute scramble. We build uniform handling into the Essential Performance Trip Checklist (opens in a new tab) so packing, labeling, and inspection sit alongside transportation and lodging details instead of living on a separate list.
- Assign a single uniform point-of-contact who coordinates with the trip coordinator on timing and logistics.
- Form a small volunteer laundering committee so technique stays consistent across the group.
- Lean on your 90-day tour playbook (opens in a new tab) to schedule packing, fitting, and inspection milestones well ahead of departure.
- Adapt a checklist template early so every chaperone and section leader works from the same rules.
Why standard rules matter for band directors and coordinators
Uniforms get lost or damaged most often when rules live in someone’s head instead of on paper. A written system, numbering, a manifest, assigned roles, turns chaos into routine, and it frees directors to focus on the performance instead of chasing down a missing gauntlet. Start small: pilot the system on one trip before rolling it out tour-wide.
— Donovan
How we help manage uniform logistics on performance tours
Keeping fifty uniforms organized is easier when it’s built into the trip itself, not bolted on afterward. Dedicated trip coordinators fold packing, labeling, and on-site handling into the same timeline as transportation, lodging, and performance schedules, so your team has one plan to follow instead of several.

If you’re planning an upcoming tour, visit our Performance Tours (opens in a new tab) page to see how coordinated planning and on-trip support can take uniform logistics off your plate.
FAQ
What are the basic rules for staff uniform appearance?
Uniforms should be clean, properly fitted, and free of visible damage such as loose trim, broken fasteners, or stains. Following manufacturer care instructions and a consistent inspection routine keeps uniforms presentable for every performance.
What are the three basic requirements for uniform appearance?
Most programs require uniforms to be clean, correctly sized, and fully assembled with all accessories in place, such as gauntlets, gloves, and headwear. A labeling and inventory system helps confirm all three requirements before every event.
How should uniforms be packed for travel to minimize damage?
Hang each uniform on its own hanger inside a garment bag, keep shoes in a separate mesh pocket, and store small accessories in labeled bags within the garment bag. This packing method protects the press and keeps full sets together during transport.
What should an emergency uniform repair kit include?
A basic kit includes needle and thread, safety pins, spare Velcro strips, fabric tape, and a seam ripper, carried by a designated uniform point-of-contact. Keeping the kit visible and accessible speeds up last-minute fixes before performances.
How often should performance uniforms be laundered and inspected?
Uniforms should be inspected after every wear and laundered according to (opens in a new tab) manufacturer instructions, typically cold water, gentle cycle, and liquid detergent, then hung to dry. A director-set turnaround policy keeps the laundering coordinator and volunteers on a consistent schedule.
Sources
These sources informed the care, laundering, and packing rules covered in this article.
- Care and Storage of your Marching Band Uniform (opens in a new tab)
- Uniform laundry instructions (opens in a new tab)